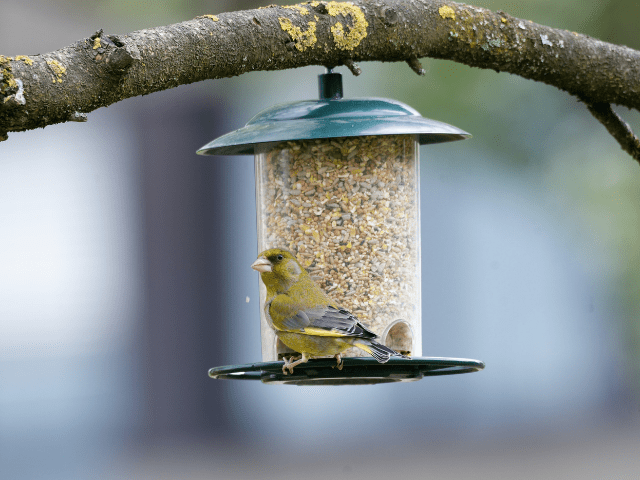
So, you've recently bought a new feeder and prepared the appropriate bird feed. After setting it up, wild birds started visiting your feeder.
Exciting, right?
However, you can't just sit down and forget about it. Birds also need a clean and safe place to eat, so you need to know how to clean a bird feeder, in addition to where to place one.
With that in mind, we prepared a step-by-step guide for you to follow, as well as other tips on maintaining your bird feeder. Read on!
The Importance Of Cleaning A Bird Feeder 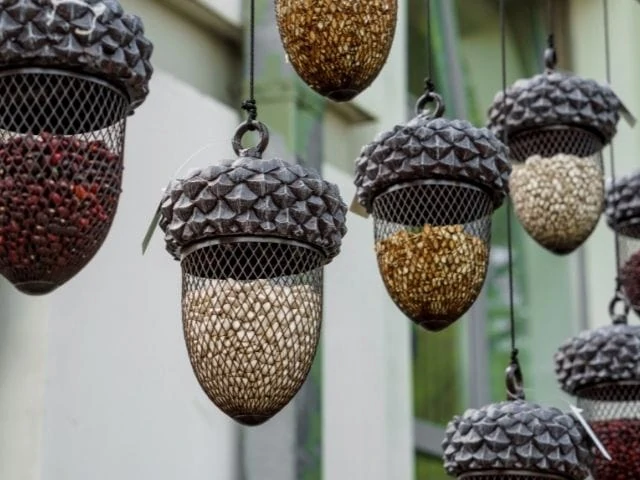
Although feeding birds is beneficial for your local wildlife, there are times when your feeder can do more harm than good, such as:
- Mold (a type of bacterial growth) development in your feeder because of leftover food or seeds that have been exposed to rainwater
- Contaminants, such as bird droppings, in your feeder that can cause diseases
- Your bird feeder or birdbath being visited by a sick bird carrying salmonella, avian pox, or other infections
These three scenarios turn your feeder into a breeding ground for infections, which could transfer to other backyard bird species.
That's why you can't just put up a feeder, fill it with food, and move on. Regularly cleaning a bird feeder is essential for the safety of whatever wild bird visits your backyard.
How Often Should I Clean My Bird Feeder?
First, we need to address the difference between a routine and a deep clean.
Routine Clean
A routine clean is a simple process that only involves scrubbing and soaking your feeder in hot soapy water. It rids your feeder of dirt build-up and prepares it for the next food refill.
The frequency at which you routine clean depends on your feeder type.
For a seed feeder (tube, platform, or hopper), you may clean it once every two weeks as a general rule of thumb, but you may do it immediately when it needs a refill.
However, you have to clean it more frequently if the seeds are exposed to rain because unchecked water build-up can lead to mold growth.
On the other hand, you have to clean hummingbird feeders at least every 1-6 days (depending on the temperature) since sugar water ferments pretty quickly.
Deep Clean
The trick to learning how to prevent mold in bird feeders is a simple deep cleaning. It's an effective way to rid your feeder of any harmful bacteria.
This process usually involves more materials, such as bleach or vinegar, and takes longer to complete.
You may deep clean every 4-6 weeks for all feeder types.
The Materials You Need 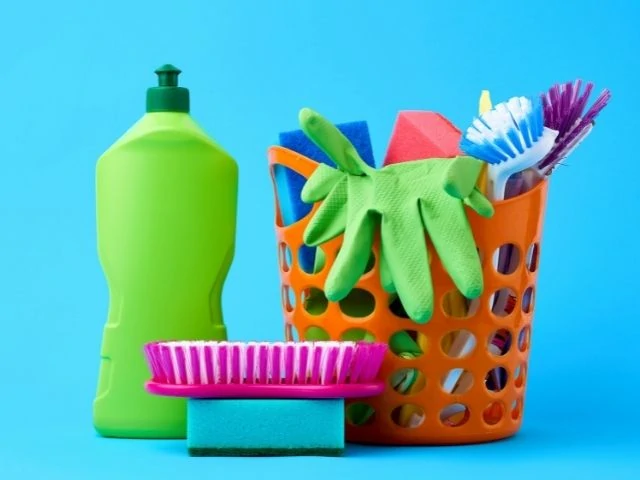
- Hot water
- Dish soap
- Household bleach or white vinegar (deep cleaning)
- Bottlebrush
- Tub or bucket
- Gloves
- Rag
- Measuring cup
The Cleaning Process
1. Discard And Disassemble
The first step on how to clean bird feeders is to have as much access to all surfaces as possible, as bacteria can hide even in the smallest spaces.
You can do this by throwing away all of the leftover birdseed, nectar, fruit, or nut, then disassembling the different parts of the feeder.
2. Scrub
Prepare some hot soapy water and scrub all parts with a brush until there's no debris left. Rinse until all the soap suds are washed away.
Some parts can be pretty tedious to scrub, such as the feeding ports of a hummingbird feeder or the interior surface of a tube feeder.
It might take a lot of practice to learn how to clean a tube bird feeder, but the wild birds will thank you in the long run!
3. Soak
Routine Cleaning
Once you've scrubbed your feeder well, submerge it in a tub of hot soapy water and let it soak for about 10 minutes.
Deep Cleaning For Metal, Acrylic, Or Recycled Plastic Feeders
A diluted bleach soak is the best cleaning method for getting rid of salmonella bacteria in feeders - a study even proves it!
Using a tub or bucket, create the bleach solution by mixing nine parts of hot water and one part of bleach.
Submerge all the feeder parts in the solution, and let them soak for at least 60 minutes.
Deep Cleaning For Wood Feeders
Instead, you can mix equal parts vinegar and hot water and let your wood feeder soak for at least 60 minutes.
This process only applies to feeders made of natural wood. If you see the word "poly-lumber or poly-wood," those are made of recycled plastic, so you can use bleach on them.
You can use vinegar for metal, acrylic, or recycled plastic feeders if you want. However, bleach is still more effective in removing bacteria.
4. Rinse
After 60 minutes of soaking, take out the feeder from the vinegar/bleach solution and rinse all of its parts with water.
We recommend rinsing at least a few times thoroughly so the scent of bleach or vinegar will be gone.
5. Dry
You can now dry your feeder using a rag or by allowing it to dry out in the sun.
After reassembling, you now have a clean bird feeder that's ready for a refill! Give yourself a pat on the back.
Watch this video to know more tips on proper feeder care:
Frequently Asked Questions
How do I detect mold?
Well, we've told you enough about preventing mold, so let's discuss how you can detect mold. The most reliable telltale sign is seeing any build-up from the bottom of your seed feeder or anything floating or appearing suspended in a nectar feeder.
If you can't see any mold, then you can look for seeds clumped together which is a sign that your feeder is damp and will get moldy over time. Your bird food should also smell fresh or nutty. If it smells musty or unpleasant, then it's likely in the process of decomposing.
How do I preserve wooden feeders?
No matter how much you scrub, soak, and rinse a wooden feeder, its color will naturally fade over time. If you want to preserve its appearance, then you may apply a coat of linseed oil, wood seal, or water-soluble stain every few years. However, only apply them to the external areas and not directly to where the seeds are stored or where the birds eat.
To be honest, we don't really recommend using wooden feeders if you're looking for longevity. Even though they're aesthetically pleasing, the wooden materials will eventually absorb the oils from the seeds you use. The scent from the absorbed oils would then attract other animals, such as squirrels, raccoons, and bears. You would end up constantly replacing your feeder because these animals will literally chew the wood.
Are there other safety tips I should consider?
For your safety, please wash your hands before and after the cleaning process because you might expose your hands to harmful bacteria. For the safety of the wild birds, it would be wise to spread the food between different feeders if you have many. At least, if a sick bird comes to visit, there are fewer chances for birds to touch and contaminate each other.
You should also check the ground under your feeder for decomposing bird food. Birds tend to scramble food around to find their favorite, so you need to clean that up as well. If you have a hummingbird feeder, then avoid using insecticides when dealing with ants that want the sugar water. It would be better to buy an ant moat instead.
Additionally, don't put any sticky substance in the feeding ports to deter bees, as it can contaminate the sugar solution. We recommend buying hummingbird feeders that come with bee guards or buying saucer-shaped feeders instead.
Final Remarks
Learning how to clean bird feeders is a responsibility you need to undertake if you want your backyard to be a happy and healthy place for wild birds.
Routine and deep cleaning are relatively easy to do, and the materials are already in your home. All you need is a little bit of time.
What seems like a small chore can make a huge difference in your local avian life, for better or worse. So, grab your supplies and give those birds the clean feeders they deserve!