
Rocky Mountain National Park (RMNP) is a landscape photographer's dream, but it's also a paradise for the avian photographer. From the vivid blue of the Mountain Bluebird in the meadows to the camouflage of the White-tailed Ptarmigan on the alpine tundra, the park offers unique and challenging bird subjects.
However, the high altitude, extreme light changes, and dense forests demand specialized techniques. Here are seven essential tips to help you capture stunning images of RMNP's diverse birdlife.
1. Master the Golden Hours (and the High-Altitude Light)
The general rule of "shoot at dawn and dusk" is amplified in the mountains. Not only are the birds most active in the cooler parts of the day, but the quality of light is crucial.
Dawn and Dusk: Use the first two hours after sunrise and the last two hours before sunset. The low, warm light provides beautiful side-lighting and avoids the harsh, high-contrast shadows of midday sun.
The Midday Glare Challenge: When the sun is high, mountain air is crystal clear, resulting in extremely harsh shadows. If you must shoot midday, focus on riparian areas (like the Kawuneeche Valley) with willow and aspen groves, where the filtered light can be softer.
Exposure Metering: Be extremely cautious of shooting against bright snow or bright sky. Use Spot Metering on your camera to expose specifically for the bird itself, rather than letting the bright background fool your meter into underexposing your subject.
2. Prioritize Shutter Speed for High-Energy Subjects
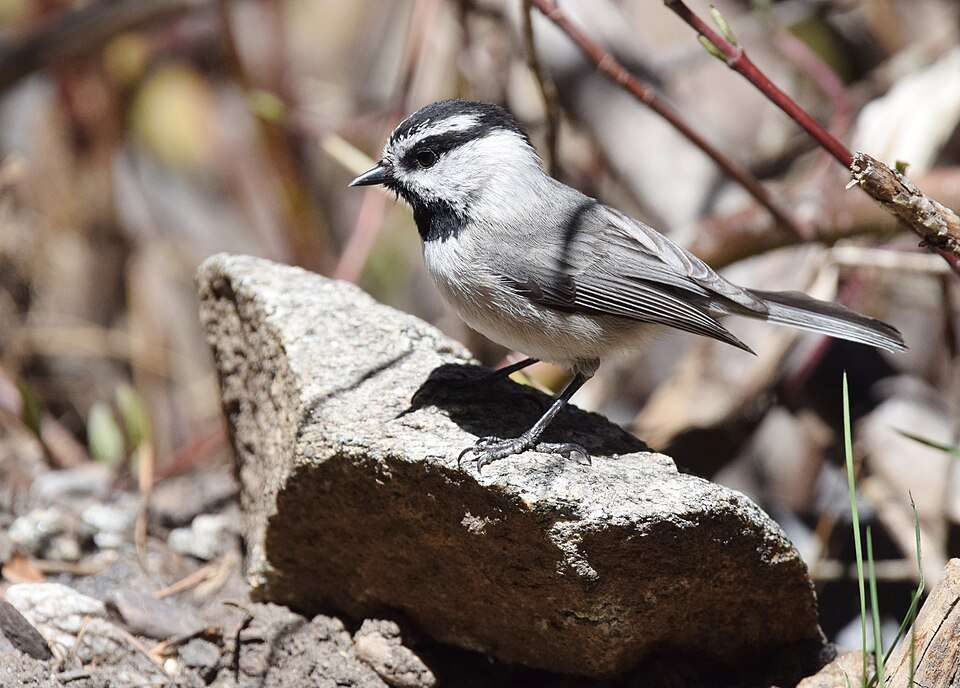
The birds in the Rockies—especially smaller passerines like the Mountain Chickadee and Broad-tailed Hummingbird—are fast and skittish. A high shutter speed is non-negotiable for sharp photos.
Minimums: Aim for a minimum of 1/1000th of a second for small, perched birds, and increase to 1/2000th of a second or faster for birds in flight (like raptors over Lumpy Ridge).
ISO Compensation: Since a fast shutter speed limits light intake, you must be willing to raise your ISO (e.g., to 800 or 1600). Use the lowest ISO possible that still allows you to achieve the necessary shutter speed to freeze motion.
Mode Recommendation: Start with Shutter Priority (Tv or S) mode, setting your desired high speed, and letting the camera manage the aperture and ISO (if Auto ISO is enabled).

3. Know Your Altitude Habitats
RMNP's elevation zones are distinct ecosystems, and bird presence changes dramatically as you drive up Trail Ridge Road. To find specific subjects, target the right habitat:
Montane Forests & Meadows (Lower Elevations): Focus on areas like Upper Beaver Meadows, Moraine Park, and Endovalley. Look for:
Mountain Bluebirds (on snags in open meadows).
Northern Flickers and Red-naped Sapsuckers (on aspen trees).
Steller’s Jays (around campgrounds and visitor areas).
Riparian Zones (Riversides): The banks of the Big Thompson River or the Colorado River in Kawuneeche Valley are vital. Look for the incredibly photogenic American Dipper—a small songbird that dives and walks underwater for food.
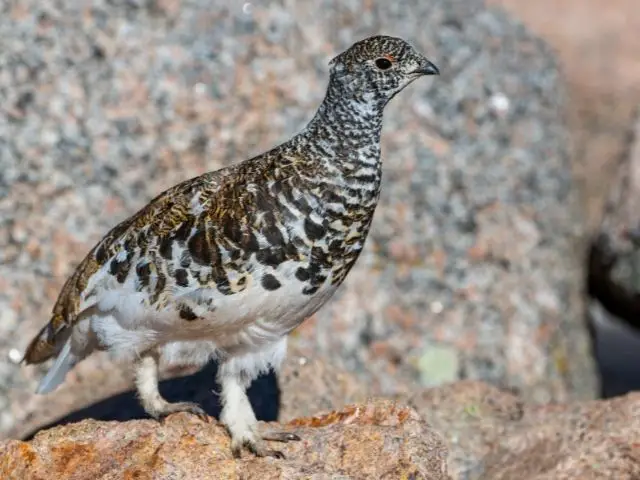
Alpine Tundra (Above Treeline): This is the high-altitude specialist habitat. Hike into the tundra (respecting marked trails) to seek out the White-tailed Ptarmigan, which maintains its pure white plumage through the winter.

4. Gear Up for Reach and Stability
Most birds in RMNP will not allow a close approach, especially in the high-altitude environments where cover is sparse.
Telephoto Lens: A lens with a focal length of at least 400mm is essential. Many professional bird photographers use 500mm or 600mm lenses, often paired with a 1.4x teleconverter for extra reach.
Tripod/Gimbal: The combination of a heavy lens and the frequent need for high magnification makes hand-holding difficult. A sturdy, lightweight carbon fiber tripod equipped with a gimbal head is highly recommended for smooth, stable tracking.
Spare Batteries: Cold temperatures at high elevation rapidly drain camera batteries. Always keep several spare batteries warm in an inside pocket of your jacket and switch them out frequently.
5. Research the Migration and Breeding Seasons
Timing your visit can mean the difference between seeing a handful of resident birds and encountering an explosion of color and activity.
Breeding Peak (Late May – July): This is the best time. Migratory songbirds like the Western Tanager and warblers arrive, often in their most brilliant breeding plumage, and are busy establishing territories and nesting.
Spring Migration (Mid-April – May): A great time to catch a diverse array of species passing through lower-elevation habitats.
Fall (Late August – September): Fall migration, combined with the golden aspen foliage, can offer stunning photographic opportunities.

6. Practice Patience and Ethical Distance
In the high mountains, birds are exceptionally aware of their surroundings. Getting a great photo requires stillness, not speed.
Dull Clothing and Concealment: Wear dull, earth-toned clothing. Find a piece of natural cover (like a stand of trees or a large boulder) and wait for the birds to acclimate to your presence.
Respect the Wildlife: Never approach birds, especially owls, woodpeckers, or nesting birds, to the point where you change their behavior. If a bird stops feeding or changes its flight path because of you, you are too close. The Park's Code of Ethics always puts the welfare of the animal first.
Stay on Trails: This is especially critical in the fragile alpine tundra, where a single misstep can crush decades of slow-growing vegetation.

7. Look for Background Isolation
A clean background (bokeh) is key to professional bird photography. In the dense forests of RMNP, finding this can be challenging due to clutter.
Shoot Low and Up: Try crouching or lying down to shoot slightly up at the bird. This often replaces a cluttered forest floor background with a clean expanse of blue sky, which can be easily blurred out with a wide aperture (low f-number).
Find Open Perches: Look for birds perched on the edge of a meadow or on a branch that projects away from the dense canopy, which naturally creates distance between the subject and the background.
By combining technical preparation with a deep respect for the park's fragile mountain ecosystems, you will be well-equipped to capture the beauty of the many bird species that call Rocky Mountain National Park home.
