
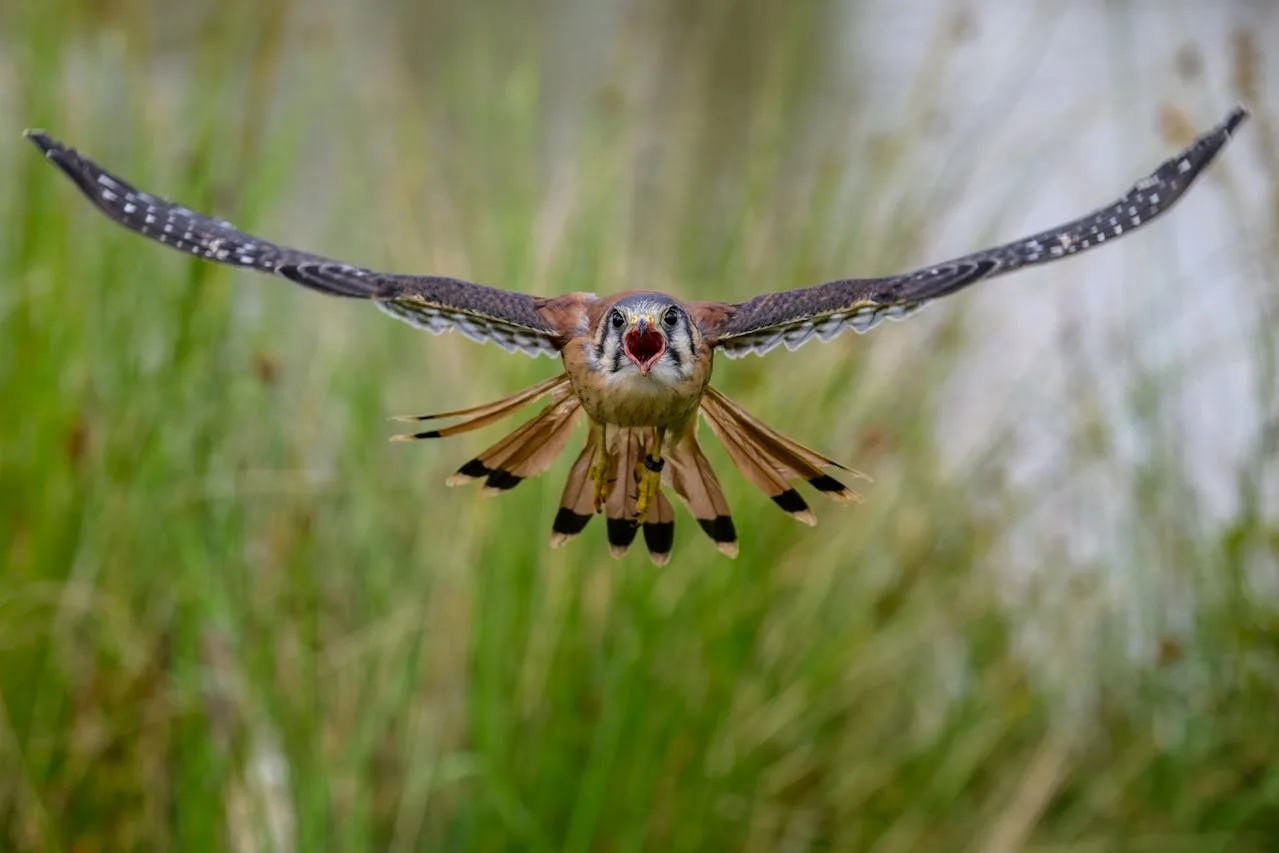
Capturing a bird in flight is often considered the "Holy Grail" of wildlife photography. It is a pursuit that demands a rare mix of technical mastery, specialized equipment, and an almost preternatural level of patience. Unlike a perched bird, a subject in the air moves in three dimensions at high speeds, often against challenging backgrounds like a bright sky or a cluttered forest.
To move from blurry "sasquatch" sightings to tack-sharp, professional-grade images, you need to master the trifecta of flight photography: shutter speed, focus tracking, and bird behavior.
1. The Need for Speed

The most common mistake in flight photography is a shutter speed that is too slow. Even a bird that appears to be gliding slowly is moving much faster than you think, and its wingtips are moving faster still.
The Golden Rule: Start at 1/2000s for large, slow-moving birds like herons or pelicans. For small, erratic flyers like swallows or hummingbirds, you may need to push to 1/3200s or higher.
Aperture: Shoot "wide open" (the lowest f-number your lens allows, such as f/4 or f/5.6). This allows the most light into the sensor, which you need to support those high shutter speeds, and creates a shallow depth of field that makes the bird "pop" from the background.
Auto-ISO: Because lighting conditions change rapidly as a bird flies from shadow to sun, use Auto-ISO with a set maximum (e.g., 3200 or 6400) to ensure your exposure remains consistent without you having to fiddle with dials mid-flight. As you gain more confidence and/or if the conditions are stable then you may want to manually adjust your ISO. With a fast shutter speed and open aperture, you will need to have your ISO bumped up.
- Continuous Shooting: Don't take a single shot, use the continuous shooting setting. Low Continuous will take around 1 shot a second and High Continuous will take upwards of 7 frames a second depending on your camera. This is the beauty of digital cameras, you can take hundreds of photos in a session. You will then be left to sort through them later, but you stand more of a chance of getting that killer shot.
2. Master Your Autofocus Systems
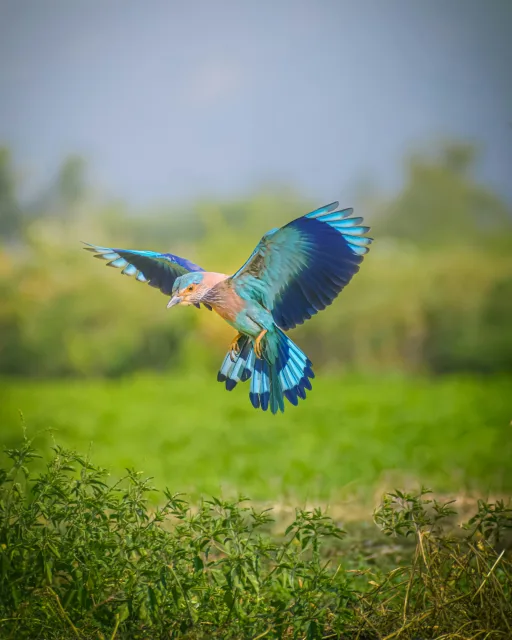
Modern mirrorless cameras have revolutionized bird photography with "Bird Eye Detection," but even the best tech requires the right settings.
Continuous AF (AF-C or AI Servo): Never use "Single" focus. Your camera must constantly readjust as the distance between you and the bird changes.
Focus Area: Use a "Zone" or "Expanded Spot" focus. Tracking a tiny bird with a single center point is nearly impossible; a larger zone gives the camera’s computer a better chance of "grabbing" the subject.
Back-Button Focus: Many pros decouple the shutter from the focus. By using a button on the back of the camera to focus, you can track the bird continuously and only hit the shutter when the composition is perfect. A lot of my photographer friends swear by this but I find that I then have too many things to think about.
3. The Art of the Pan
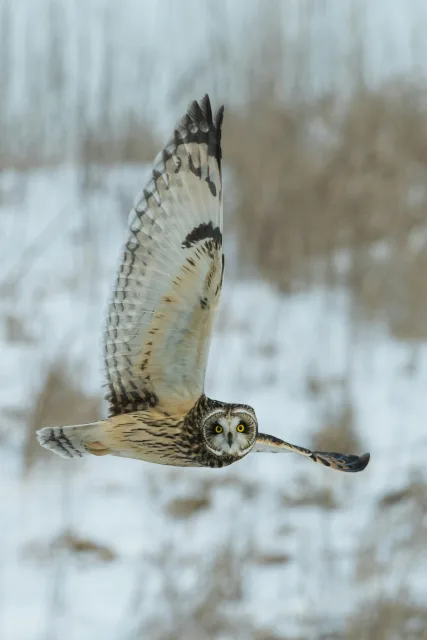
Photographing a bird in flight isn't just about clicking; it’s about a fluid, athletic movement called panning.
The Stance: Keep your feet shoulder-width apart and rotate from your hips, not your neck. Think of yourself as a tank turret.
Follow-Through: Just like a golf swing, you must continue your movement even after you stop taking photos. If you stop the camera the moment you stop the burst, the last few frames will likely be blurry.
Anticipate the Takeoff: Birds almost always take off into the wind. If you know which way the breeze is blowing, you can position yourself so the bird flies toward you rather than away, giving you a much more compelling "face-on" shot.
4. Composition and Light
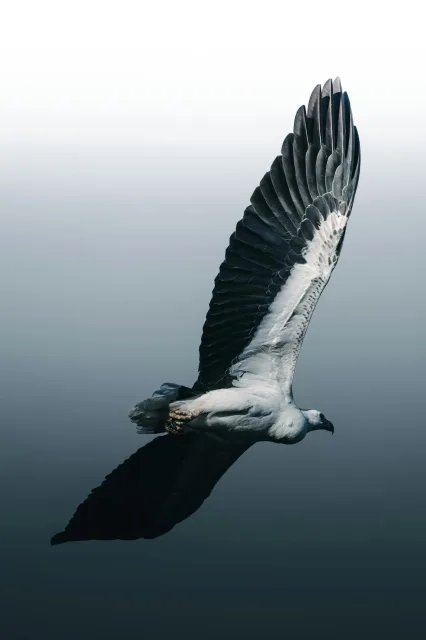
A sharp photo of a bird’s underside against a white sky is technically a success, but it’s rarely a great photograph.
The "Golden Hour": Shoot in the early morning or late afternoon. The low angle of the sun illuminates the bird from the side or front, revealing the intricate texture of the feathers and providing a crucial "catchlight" in the eye.
Negative Space: Don't center the bird. Leave more space in the frame in front of the bird (the direction it is flying into) than behind it. This creates a sense of motion and prevents the image from feeling "cramped."
5. Case Study
I first photographed hummingbirds in a Houston park. We went there specifically because we knew the Ruby-throated Hummingbirds were likely to be present. I was inexperienced in shooting birds in flight, never mind those that hover with wing beats so fast. I set my camera up at ISO400, the lowest aperture setting and my shutter speed at 1/2000 and on High Continuous. I didn't worry too much about the angle or light, I just wanted to give it a go.

I was pretty happy with my first attempt.
6. Ethical Birding
The most important tip isn't about your camera; it’s about the subject. Never flush a bird to get a flight shot. If a bird is resting or feeding, forcing it to fly wastes precious energy it needs for survival.
The best flight shots come from observing the bird until it decides to move on its own. It’s a game of waiting, but when that heron finally lifts off and your shutter begins to roar, the reward is a frozen moment of natural engineering that few people ever get to see up close.
7. Top Tips Summary
- Higher than normal ISO or automatic
- High shutter speed
- Low aperture setting
- High conintuous
- Continuous AF
- Wide focusing area
Lastly, and in my opinion most importantly, Practise, Practise, Practise. I will try to shoot birds in flight whenever I can, even if it is a common, mundane bird. That way when something special flies past, I am ready.
Good luck!
